5 errors people miss in POSM photos
Five POSM errors that pass manual photo review: wrong place, wrong sticker text, a missing POS item, one sticker short, and photos that prove nothing.

A reviewer opens the next store photo in the queue. An oven on a shop floor, stickers on the door, a price card, nothing torn or crooked. It looks like every photo before it. They pass it and move on.
Most of the time that is the right call. The expensive photos are the ones where the job looks finished and isn’t.
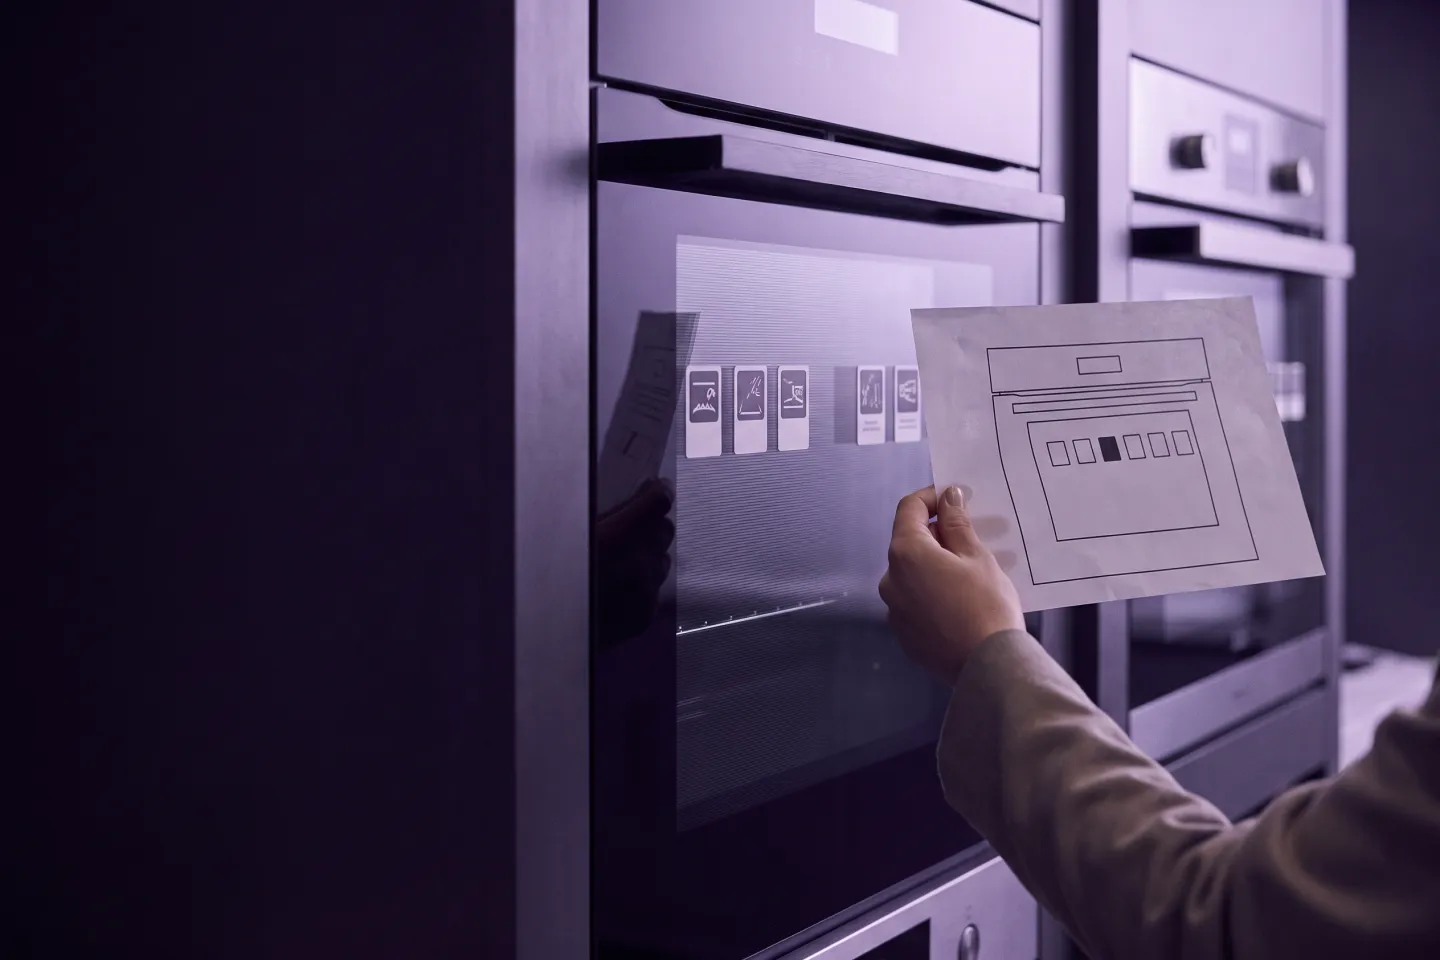
I recently sat down with the project lead at a field marketing agency to go through Steve’s results on one of their projects. Field teams photograph home appliances in stores. Each model has a PDF template that says which stickers and POS materials it must carry, and where each one goes. We went through the mismatches Steve had flagged, photo by photo, next to the template.
Five errors kept coming back. None of them is exotic. If you check store photos, or pay people to check them, I’d guess you have signed off on at least two.
1. The right sticker in the wrong place
The template puts a sticker on the right-hand door. In the photo it sits on the left-hand door. It is the correct sticker, straight, clean and fully visible.
A reviewer scanning a queue is asking one question. Is the sticker there? It is, so the photo passes. Checking position means opening the template for that model, finding the sticker and comparing sides. Nobody keeps that up for a whole queue.
The cost arrives later. The brand’s own rep walks into the store, sees the sticker on the wrong door, and your report says that store was compliant. Now you are explaining the report as well as paying for a repeat visit to move one sticker.
How to catch it. Treat position as its own question, separate from presence. Steve reads where the template puts each sticker and compares that with where it sits in the photo, so “present, wrong door” comes back as a mismatch with the reason attached.
2. The wrong sticker text
Two stickers from the same campaign. Same size, same colours, same typeface. One promotes one oven feature, the other promotes a different feature. The template for this model asks for the first. The photo shows the second.
People recognise stickers by shape and colour. Deep into a queue, nobody is reading the words any more. The installer may well have made the mistake the same way, picking from a sheet of stickers that all look alike.
Of the five, this is the one I would least want a client to find first. The product is now on display with the wrong message on it, and your report has confirmed it as correct.
How to catch it. Read the words, every time. Steve reads the text on each sticker and compares it with the wording the template requires, so two stickers that look the same and say different things are told apart.
3. The POS item that isn’t there
The template says the appliance is displayed with a POS item next to the stickers. A bottle stand, for example. The photo shows a clean appliance with every sticker in place, and no stand.
Reviewers check what is in the photo, and everything in this photo is correct. Seeing what is absent means knowing the required list for that model by heart, and the list changes from model to model.
The item was produced, shipped and reported as installed. If it never reached the shop floor, nobody finds out until the brand asks where it went.
How to catch it. Start from the template instead of the photo. List what this model requires and look for each item in turn. Steve works in that direction. Every required item gets its own answer, and “not in the photo” is one of the answers. Whether the stand is missing from the store or only from the frame, someone needs to look.
4. One sticker missing out of many
Some products carry several required stickers. One in this project had seven. Six are in place and correct, and the door looks busy and complete.
With two stickers, a gap is obvious. With seven, a door full of stickers reads as done. Finding the gap means matching each sticker against the template one by one. That is the slowest check a reviewer does, and the first one to get skipped when the queue is long.
The result is a compliance report that is wrong on the products with the most material on them, and another visit to add a single sticker.
How to catch it. Count against the template, not against your impression of the photo. Steve returns a result per required sticker. A product with seven comes back as six found and one missing, with the missing one named.
5. The photo that can’t prove anything
A small sticker photographed from too far away. A blurry shot. A translucent sticker on glass that all but disappears in the picture. The reviewer sees something roughly where the sticker should be and passes it.
They pass it because the alternative creates work. Rejecting the photo means a query to the field team and maybe a repeat visit, and the sticker is probably fine. So doubt becomes a pass.
The report now contains passes nobody verified. If the client disputes that store, your evidence is a photo that settles nothing.
Steve is not better than a person at reading these. Small, blurry and translucent stickers are where it struggles too. What it does differently is say so. A sticker it cannot read is reported as unreadable and goes to a person, instead of counting as a pass. The project lead made a point here that stayed with me. If the check can’t read the sticker, the shopper probably can’t either. An unreadable sticker tells you something about the photo, and sometimes about the sticker.
How to catch it. Allow a third answer next to pass and fail, which is “can’t tell from this photo”, and count those answers in the report. Ask field teams for a close-up wherever the template has small or translucent stickers.
A review routine that holds up
One more thing from the same review, and it applies whether a person or software does the first pass. Check every mismatch. Then check a sample of 5 to 10% of the photos marked fully OK.
The mismatches are where a decision is needed, so a person makes it. The sample of OK photos tells you whether the passes can still be trusted. That is far less work than looking at everything, and the reviewer’s attention goes to the photos that need it.
Where Steve fits
Steve’s POSM placement verification compares each store photo with the template for that model and returns a result for every sticker and POS item. It tells you whether the item is there, whether it is in the right place and carries the right wording, or that the photo can’t show it.
For the longer version, including how to turn a placement guide into checks a system can run, read POSM compliance: the right material on the right product.
If two of these five looked familiar, book a 15-minute call. Bring one template and a handful of photos from a live project, and I’ll show you what Steve makes of them.
What does checking store photos cost you?Put in your photos a month and minutes per photo. Then review five photos the way your team would with Steve.Work out your saving